Home
Acrylic Blocks
Photos
FAQ
DIY Guide
Contact
Acrylic
Blocks
4Less
Photo Album
>
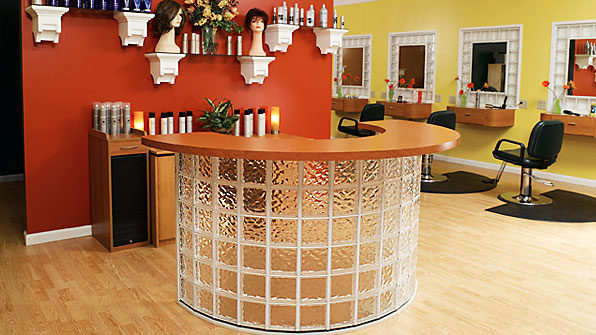
Radius Wall
Image 2 of 14
<
Previous
Next
>
Radius Wall