Here's How:
Measure the opening. With our opening the width varied from 34 1/4" - 34 1/2" and height varied from 34 1/2" - 34 3/4". Use the shorter dimensions (34 1/4" x 34 1/2") to bulid your window. We recommend your finished window be 1/4" - 1/2" smaller in width and height than the opening.
Our dimensions required us to use 8" blocks and 1x4 for framing.
Here's how we calculated the block size:
Four 8" x 8" acrylic blocks = 32"
Two T-Bar (track) @ 1/4" thick = 1/2"
Two 1x4 @ 3/4" thick = 1 1/2"
Total finished size = 34"
(Frame material added 2" to the overall width and height.)
|
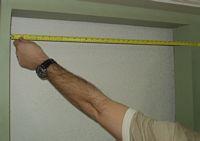
Measure Width, Top, Middle & Bottom.
(Use shortest dimension)
|
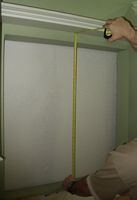
Measure Height: Left, Middle & Right.
(Use shortest dimension)
|
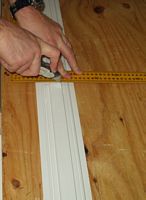
Cut two pieces T-Bar (Track) to the same width as blocks & cut two pieces 1/4" less than blocks.
(NOTE: If a miter saw is available, simply apply the full length of t-bar to the 1x4 and miter the corners as needed.)
|
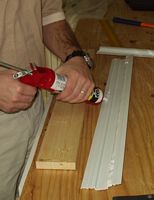
Cut two 1X4 2" inches
longer than blocks and
cut two 1X4 1/2" longer
than blocks. Apply adhe-
sive to back of track.
|
|
|
|
|
|
|
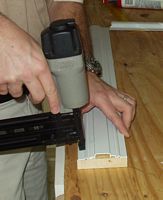
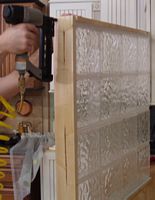
Apply track to 1x4. Use finish nails to hold track to 1x4 making sure track
is centered.
|
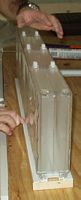
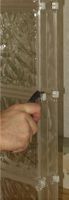
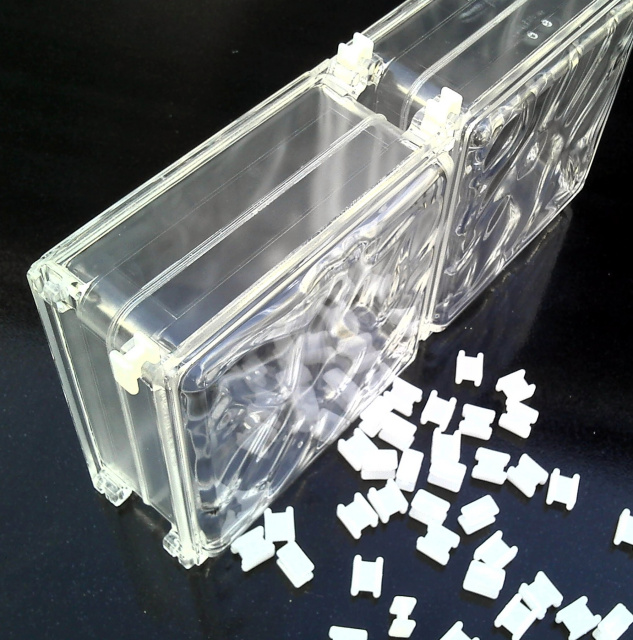
Assemble first row of blocks.
|
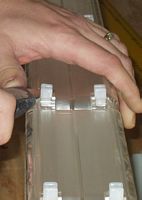
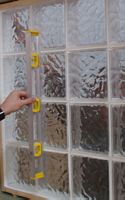
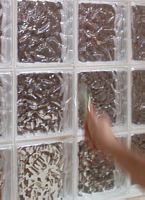
Cut the first row of clips in half with a sharp razor knife, then flip blocks over and mount to the track.
|
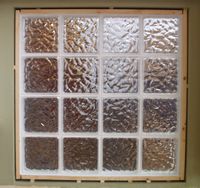
Assemble all blocks together.
|
|
|
|
|

|
|
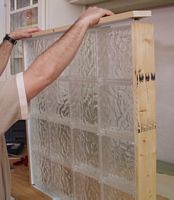
Cut clips in half on each end and mount track.
|
Top and bottom track should equal each other in length and each side should equal each other.
|
Nail frame together.
|
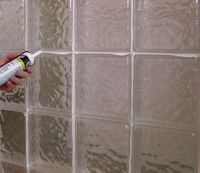
Apply adhessive in
seams and smooth
with finger or tool.
|
|
|
|
|
|
|
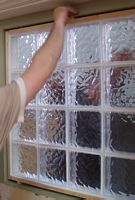
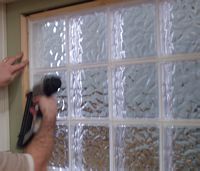
Fit window in opening and apply shims in gaps.
|
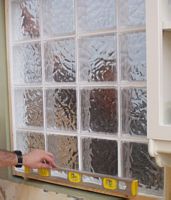
While shimming, make sure window is level.
|
Check both vertically and horizontally.
|
Insert shims in all sides.
|
|
|
|
|
|
|
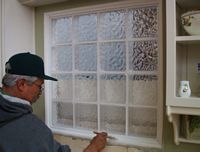
Use 1/4 round molding to cover gap and block the window within your opening.
(For a tight seal, use caulking in all gaps
and seams)
|
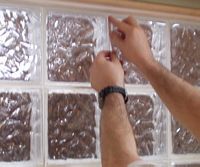
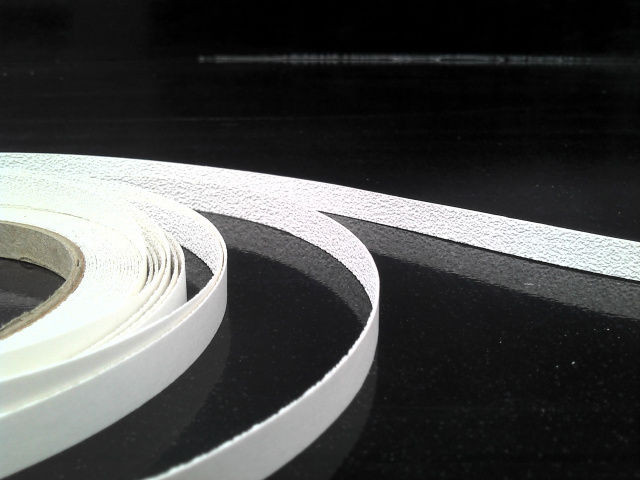
Apply grout tape over dry adhessive with finger.
(Grout tape is for interior use only)
|
Use roller on grout tape for a better hold.
|
Paint 1/4 round and
any exposed wood.
|
|
|
|
|
|
|
Materials Purchased from Acrylicblocks4less:
-
Acrylic Blocks
-
Plastic H-Clips
-
4' T-Bar (track)
-
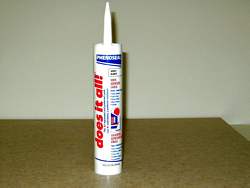
Adhesive
|
Other materials Purchased:
- 1x4 Lumber
- 1/4 Round molding
- Finish Nails
- Shims
- Paint
|
Tools Needed:
- Tape Measure
- Razor Knife
- Caulking Gun
- Hammer
- Level
- Paint Brush
|
|
|
Accessories
|

|
 |
 |
